
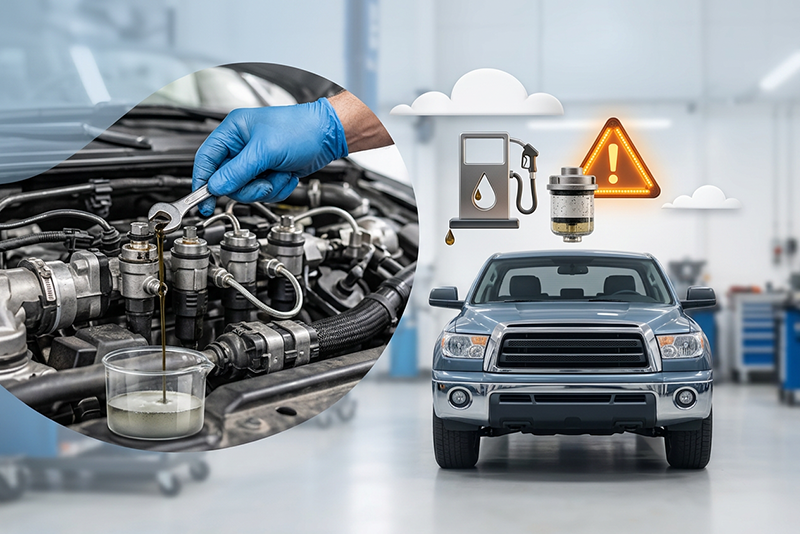
A diesel that cranks hard, starts and dies, or will not fire after a fuel filter change usually has one problem: air is trapped where fuel should be. Knowing how to bleed diesel fuel system safely protects expensive components, prevents unnecessary parts replacement, and gets a working truck back on the road faster. The correct method depends on the engine and fuel system. What works on an older mechanically injected engine can create a dangerous mess on a modern common-rail truck.
Why Air in a Diesel Fuel System Causes No-Start Problems
Diesel fuel systems are designed to move a solid column of fuel. When air enters through an opened filter housing, drained water separator, disconnected fuel line, loose fitting, or fuel-pump repair, the lift pump may move fuel without delivering consistent pressure to the injection system.
On a mechanically injected engine, air can prevent the injection pump and injectors from receiving usable fuel. On an electronically controlled common-rail engine, the ECM may refuse to command injection until rail pressure reaches a required threshold. Either way, repeated cranking is not a repair strategy. It can overheat the starter, drain batteries, and mask the actual issue.
The goal is simple: restore a clean, sealed supply of fuel to the low-pressure side of the system, then use the manufacturer-approved priming procedure to remove remaining air.
Safety Rules Before You Bleed a Diesel Fuel System
Diesel fuel is less volatile than gasoline, but it remains combustible and can make a shop floor dangerously slick. Work in a ventilated area, keep sparks and open flames away, and have absorbent material ready before opening a fuel connection. Wear safety glasses and fuel-resistant gloves. Fuel in your eyes or on your skin is not a minor inconvenience.
The critical warning applies to common-rail systems: never loosen high-pressure injector lines while cranking or running the engine. Modern injection systems can operate at pressures high enough to inject fuel through skin. A high-pressure injection injury is a medical emergency, even when the puncture looks small.
Do not crack lines at the rail, injector, or high-pressure pump to bleed a modern Cummins, Power Stroke, Duramax, Detroit, Paccar, or Volvo or similar electronically controlled system unless the factory procedure for that exact engine specifically calls for it. Most do not. These systems are designed to prime through the low-pressure supply circuit.
Start With a Clean, Sealed Fuel Supply
Before priming, inspect the work you just performed. A loose filter cap seal, double-stacked O-ring, pinched gasket, damaged quick-connect fitting, or drain valve left partially open will keep pulling air into the system. Bleeding will not fix an air leak.
Confirm that the correct filter is installed and that all O-rings are lubricated only as directed by the filter or vehicle manufacturer. Check the fuel level, too. A low tank can uncover a pickup tube on an incline, especially after a filter service or when the truck has been parked nose-up.
If you replaced injectors, a high-pressure pump, fuel rail, or contaminated fuel-system components, follow the complete OE installation and flushing procedure. In that situation, a simple prime cycle may not be enough. Debris from a failed pump can damage replacement injectors quickly, which is why contamination kits and properly matched fuel-system components matter.
How to Bleed a Diesel Fuel System Safely
Use the service information for the exact engine whenever possible. The following process is a safe general approach for most low-pressure diesel fuel systems.
1. Charge the batteries first
A weak battery can make a properly primed diesel look like a fuel-system failure. Charge the batteries or connect an approved battery maintainer before beginning. You need normal cranking speed if the engine requires a short crank cycle after priming.
2. Fill and seal the filter assembly correctly
Some spin-on filters may be prefilled only when the vehicle manufacturer permits it and when fuel can be added through the outer holes, not the center outlet. Many modern systems specify installing the filter dry and using the lift pump or hand primer instead. Putting unfiltered fuel into the wrong side of the filter can send contamination directly downstream.
Install the filter, tighten it to specification, close the water drain, and reconnect every sensor or heater connector at the filter housing. A missed connector may set a fault code, while a loose cap or drain will draw air.
3. Use the truck’s intended priming method
If the engine has an electric lift pump, cycle the key to the RUN position without cranking. Let the pump run through its normal cycle, switch the key off, and repeat several times. Some platforms need three to six cycles, while others require a scan-tool command to run the pump continuously. Listen for the pump and inspect the filter area for leaks during each cycle.
If the system uses a hand primer, operate it steadily until it becomes firm. Do not rush it with violent pumping. A primer that never firms up often points to a leak, an improperly seated filter, a failed primer seal, or a supply-side restriction.
Older mechanical systems may have a low-pressure bleed screw on the filter housing or injection-pump inlet. If the manufacturer procedure calls for opening it, place a drain pan underneath, loosen it only enough for fuel and air to escape, then close it once the fuel stream is free of bubbles. Keep the work limited to the low-pressure side.
4. Inspect for leaks before cranking
Look closely at the filter seal, water separator, primer pump, hose connections, and return fittings. Wetness at a connection is a leak until proven otherwise. Wipe it clean, repair the problem, and prime again. Do not leave diesel pooled in the engine valley or on hot exhaust components.
5. Crank in short, controlled intervals
Once the system is primed, crank the engine for no more than about 10 to 15 seconds at a time, then allow the starter to cool for at least 30 seconds. If it begins to fire, let it idle. Do not race the engine immediately after startup. A steady idle gives any remaining small air pockets time to move through the return circuit.
If it starts and stalls, repeat the approved prime cycle and check for an air leak. Two or three unsuccessful attempts are enough to stop and diagnose. Continued cranking can turn a simple service issue into a starter, battery, or fuel-delivery problem.
6. Verify the repair under normal operation
After the engine idles smoothly, check again for leaks. Clear any service-related codes if required, then verify throttle response and monitor for hard starting after the truck sits. A truck that runs fine for a minute but requires extended cranking later may still have a suction-side leak.
When Priming Does Not Restore Fuel Pressure
If the engine will not start after the correct priming procedure, do not assume the new filter or replacement part is defective. Start with the basics: verify fuel level, listen for lift-pump operation, inspect fuses and relays, confirm the filter is correct, and make sure every quick-connect is fully locked.
A scan tool can save time on modern trucks. Compare commanded and actual rail pressure while cranking, check for fuel-pressure or crankshaft-position codes, and verify that the fuel pump is receiving power. Low rail pressure can come from air intrusion, a weak lift pump, a restricted pickup, an unsealed filter housing, excessive injector return flow, or a high-pressure fuel-system issue.
For mechanical systems, a clear section of approved fuel hose, where appropriate, can help identify persistent air bubbles on the supply side. Do not substitute unapproved hose or fittings in a permanent repair. Diesel fuel can damage the wrong materials, and a temporary setup can become another source of leaks.
When injectors, pumps, or fuel-system hardware need replacement, match the component to the engine serial range, calibration requirements, and emissions configuration. American Diesel Parts supports technicians and truck owners with tested diesel fuel-system components, including remanufactured injectors and pumps built for dependable service.
Do Not Treat Bleeding as a Shortcut
The fastest safe repair is not the one that gets the engine running for thirty seconds. It is the one that removes air, confirms the system is sealed, and avoids damaging high-pressure components. Follow the procedure built for your engine, keep the work on the low-pressure side, and stop troubleshooting by guesswork when the truck tells you it needs a deeper diagnosis.